How to Track PDF Sales Using Google Analytics
As the digital landscape continues to evolve, businesses are constantly seeking more effective ways to track their digital marketing metrics and customer behaviors to maximize their online presence and foster business growth. Among marketing strategies, PDF marketing is a powerful tool. Whether your company provides eBooks, whitepapers, or other downloadable content as PDF files, analyzing how users interact with your PDFs is crucial. Fortunately, Google Analytics provides a comprehensive way to gain such insights. In this article, we share a step-by-step guide on how to track PDF sales using Google Analytics. We also take a look at a tool that provides a well-rounded approach to PDF usage analytics and document protection: HelpRange.
## 1. Setting Up Google Analytics
First and foremost, if you haven't already done so, you will need to set up a Google Analytics account. This is a free tool provided by Google that helps businesses understand and quantify website traffic. It allows you to measure sales and conversions, along with how visitors use your site, how they arrived at your site, and how you can keep them coming back.
## 2. Tracking PDF Downloads
The primary reason businesses want to track PDF downloads is to measure the effectiveness of their calls to action. The assumption is that if a user is downloading a PDF, they're engaging with the content and therefore more likely to convert.
There is a wide range of data that can be gathered from tracking PDF downloads, from knowing which particular PDFs are most popular, to understanding where the user was when they decided to download.
The easiest way to set it up is by using Google Tag Manager:
1. Create a new tag
2. Name the tag (for example, ‘PDF download’)
3. Choose the Google Analytics – Universal Analytics tag type
4. Set your tracking ID
5. Choose the event track type
6. Set the category ('PDF' is a common choice)
7. Set the action ('Download' is another common choice)
8. Set the label (a variable that represents the clicked URL)
9. Choose your triggers (probably all click triggers)
10. Save and publish your tag
Google will start recording any PDF download, and the data will be found under the events section in Google Analytics.
## 3. Creating Goals in Google Analytics
Working with goals includes the following steps:
1. Select the Admin tab
2. In the “View” column, click “Goals”
3. Click on “+ New Goal"
4. Choose the "Custom" option then click "Next step"
5. Name your goal, e.g., "PDF Sales"
6. Select "Event" as the type then click "Next Step"
7. Fill in the Event conditions. You might want to keep conditions the same as the one used in Tag Manager
8. Click on "Save Goal"
## 4. Analyzing Google Analytics Data
Once all set up, you can access these statistics by navigating to "Behavior > Events" on your Google Analytics dashboard.
The data obtained can be analyzed for understanding user behaviors and used as feedback for enhancing your digital campaigns.
## 5. Using a PDF Tracking Tool
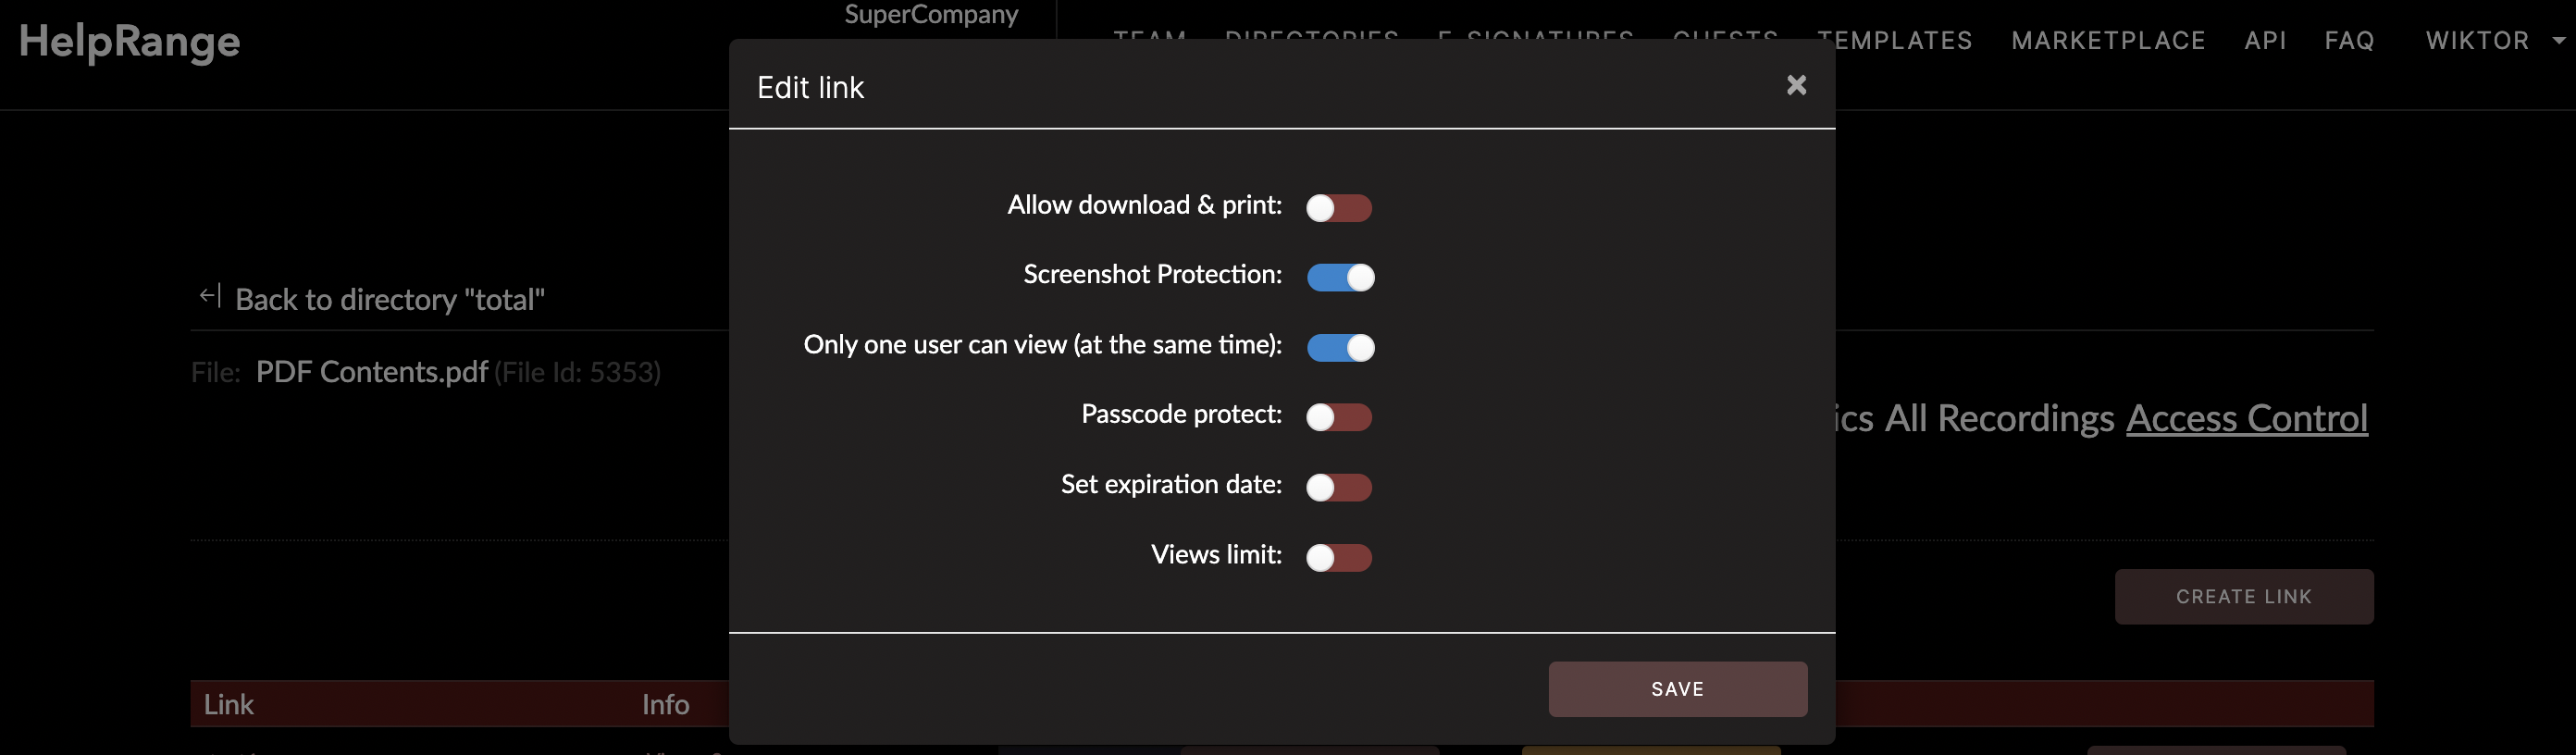
HelpRange is an online platform that allows you to protect your PDF files as well as track who is opening your documents, how much time they spend reading, which pages they read, and when they stop reading. With all these insights in your hands, you can craft your content more effectively, create targeted marketing strategies, and protect your intellectual property online.
The integration of Google Analytics with a tool like HelpRange empowers businesses to better understand their users and the effectiveness of their content, leading to more strategic decision-making and ultimately, more success in the marketplace.
## Conclusion
In this digital age where data-driven decision-making is paramount, tools like Google Analytics and HelpRange provide the necessary details for businesses to make informed decisions based on actionable insights. By tracking your PDF sales, you can develop a comprehensive understanding of your users, their behaviors, and their preferences, providing invaluable insights for future campaigns and strategies.
Remember, what gets measured gets managed. So, start tracking your PDF sales today to ensure your marketing strategies are driving the results you desire and pushing your business to new heights.
Check out HelpRange
HelpRange is "Next-Gen Documents Protection & Analytics Platform". HelpRange represents the cutting-edge platform for document access controls and in-depth analytics, ensuring superior management and usage insights for your documents.